Ready to embark on setting up your dryer vent but need help figuring out where to start? Worry not—we’re here to guide you meticulously through each phase of the installation. Remember, installing dryer vent is not just about quickly drying clothes; it plays an essential role in protecting your home from the risk of fire. So, let’s get ready and tackle this important project!
Introduction to Installation Dryer Vent
Setting up a dryer vent might appear intimidating, but with the proper knowledge and equipment, it’s entirely doable. A properly installed vent not only enhances your dryer’s performance but also directs damp air and lint away from your home, significantly diminishing the threat of fire hazards.
Why Proper Installation Matters
Proper installation is crucial because it ensures the dryer operates efficiently, saves energy, and, most importantly, keeps your household safe from fire risks due to lint buildup.
Tools and Materials Needed
Here’s what you’ll need: a vent duct, vent hood, drill, hole saw, screwdriver, screws, and foil duct tape. Always choose quality materials that comply with local building codes.
Safety Precautions
Safety first! Wear protective gear such as gloves and goggles, and ensure your dryer is unplugged before starting the work.
Step-by-Step Installing Dryer Vent
Follow these steps to ensure a smooth installation process.
Choosing the Vent Route
Identify the shortest and most direct route to the outdoors. This is crucial for the efficiency and safety of your vent system.
Cutting the Vent Hole
Carefully measure and mark the spot where the vent will go. Use a hole saw attached to your drill to create the vent opening.
Installing the Vent Hood
Attach the vent hood to the exterior of your house using screws. Ensure it’s well-sealed and secure.
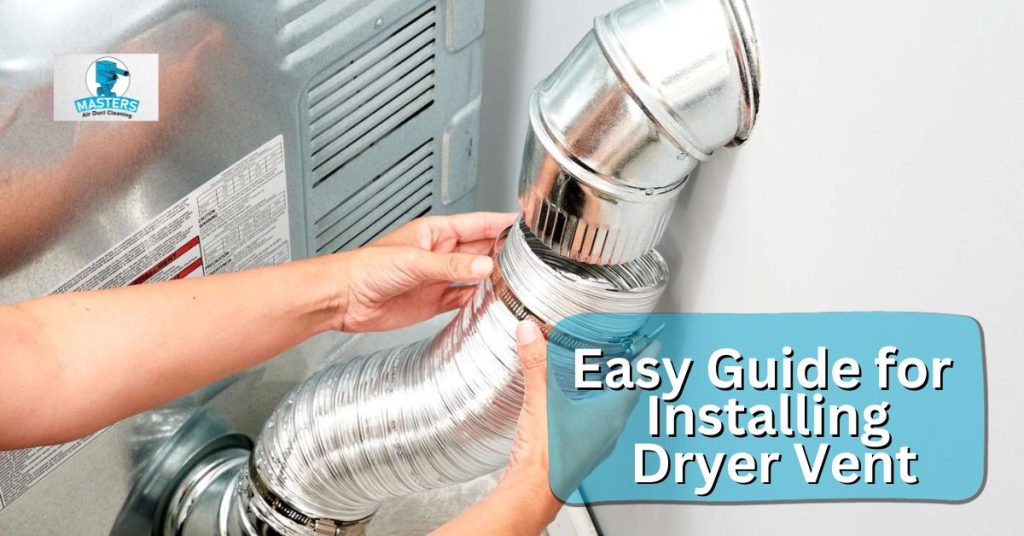
Attaching the Duct
Connect the duct to your dryer, usually at the back. Use foil tape to seal the connection properly.
Securing the Duct
Run the duct through the hole to the vent hood. Make sure there are no kinks or sags.
Testing the Installation
Once everything is connected, plug in your dryer and run it to ensure the air is venting outside correctly.
Maintenance and Upkeep
To ensure longevity and efficiency, maintain your dryer vent by following these tips.
Regular Cleaning
Clean out lint from the duct at least once a year. A clogged vent can lead to fires.
Checking for Wear and Damage
Regularly inspect the vent system for any signs of damage or wear and replace parts as necessary.
Troubleshooting Common Issues
Sometimes, things go awry, but most issues with dryer vents are easy to troubleshoot.
Dealing with Blockages
If your clothes are taking too long to dry, check for blockages in the vent duct.
Handling Leaks
If you find any leaks in the duct, seal them with foil tape. Never use duct tape, as it can deteriorate over time due to the heat.
Professional Installation vs. DIY
While many can handle installing a dryer vent, there are times when it’s best to call in a professional.
When to Call the Professionals
If you need more confidence in your ability to install the vent safely or if your home has specific challenges, it’s wise to hire a professional.
Conclusion
While Installing Dryer Vent may require a bit of elbow grease, armed with this guide, you’re well-equipped to handle the job with assurance. Keep in mind that proper installation and regular maintenance are vital for your dryer’s safe and efficient operation.